 RZ-G2L 技術貼|psplash自定義開機畫面
以下方法基于瑞薩RZ/G2L系列HD-G2L-IOT開發板測試.
1.搭建psplash開發環境
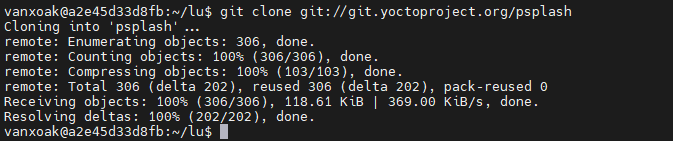
下載psplash源碼包.
gitclonegit://git.yoctoproject.org/psplash
2.進入到psplash源碼目錄下
3.將圖片轉換為代碼文件
./make-image-header.shlogo.pngPOKY//其中logo.png為需要更改為啟動顯示的圖片
執行上面命令后,會生成一個logo-img.h文件.
4.注釋并添加頭文件
在該目錄下,打開psplash文件,注釋掉以下頭文件并添加生成的logo-img.h文件,保存退出.

5.制作用于生成Makefile腳本
touchautogen.sh
viautogen.sh
在autogen.sh文件中添加以下代碼,保存并退出,給予可執行權限.
#!/bin/bash
aclocal
autoheader
automake--add-missing
autoconf
6.生成Makefile
./autogen.sh

7.配置交叉編譯環境
source/opt/poky/3.1.14/environment-setup-aarch64-poky-linux
./configure-host=aarch64-poky-linux-gcc

8.執行make
執行make命令生成psplash與psplash-write文件.
9.拷貝生成的文件
將生成psplash與psplash-write文件拷貝至板卡根文件系統下的/usr/bin目錄下替換原來的文件并使用sync命令保存.
10.重啟
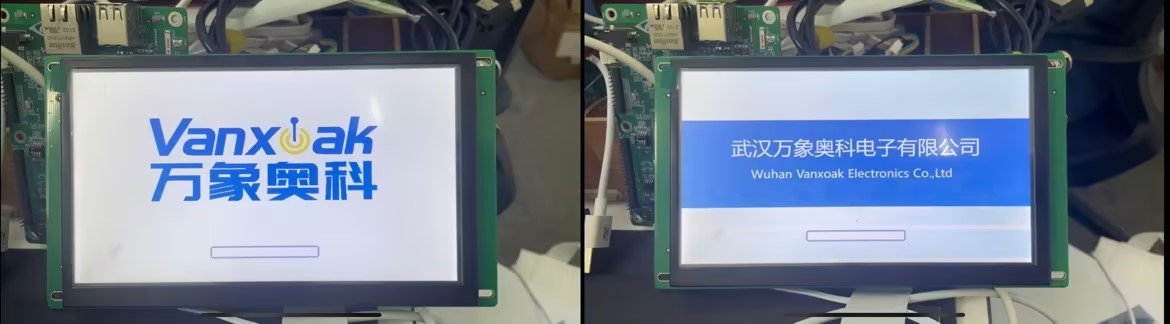
左圖為未改的開機畫面,右圖為修改后的開機畫面
-
瑞薩
+關注
關注
36文章
22375瀏覽量
87837 -
開發
+關注
關注
0文章
373瀏覽量
41396 -
開發板
+關注
關注
25文章
5588瀏覽量
103086
發布評論請先 登錄
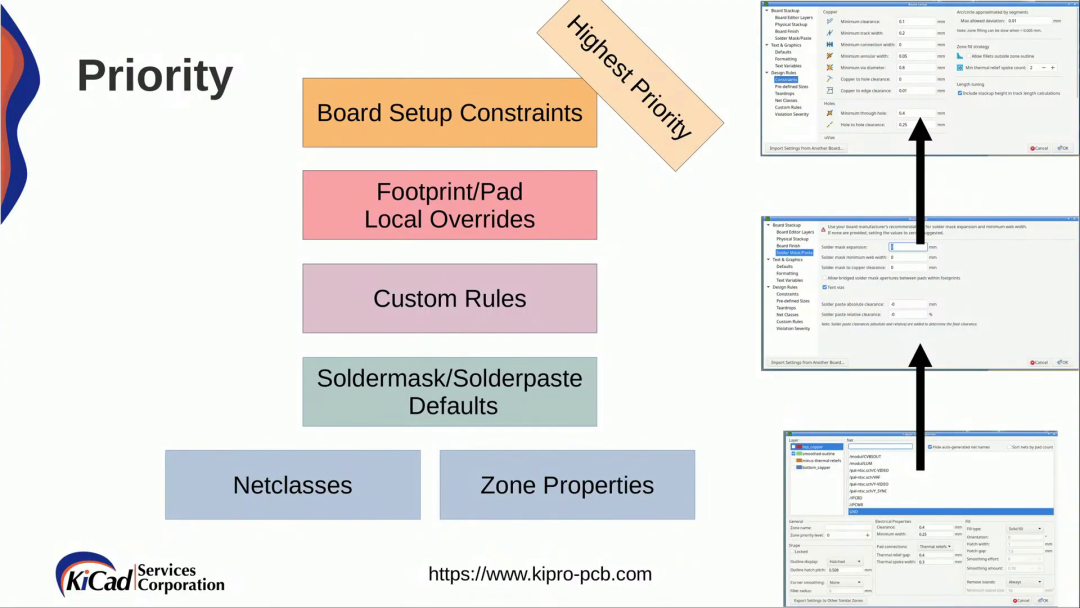
KiCad 中的自定義規則(KiCon 演講)
HarmonyOS應用自定義鍵盤解決方案
如何添加自定義單板
如何快速創建用戶自定義Board和App工程


think-cell:自定義think-cell(四)
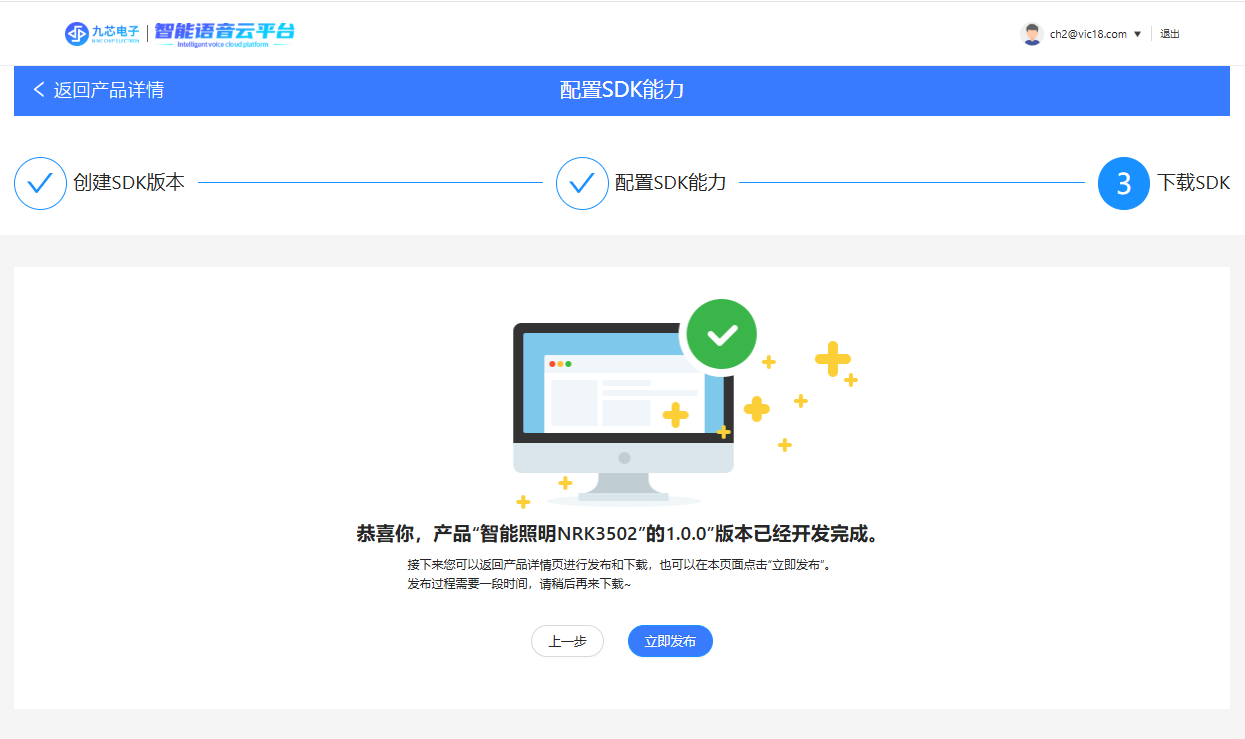
智能語音識別照明解決方案,平臺自定義,中英切換
think-cell;自定義think-cell(一)


 工商網監
工商網監
評論